What is restful API
Why use flask
Requirements
Installation process
Example resource
Building our qoute project
Conclusion
To be a backend dev, writing API is an essential skill, and one of the most popular types of API architecture is REST.
API skills are becoming more and more popular and valuable, with the increasing demand and use of API by both small and large businesses.
I mean, most of us spend a whole lot of hours trying to find a suitable API for our next project. The fun part is that we aren’t just consumers, we are builders as well.
In this article, we will be delving into how to build restful API with Python.
What is REST API or RESTful API?
Representational State Transfer (REST) is an API development architecture that makes it easier to write flexible and easily scalable web APIs.
Oh yeah, it’s not rocket science or something completely out of our universe, It is just a standard of building APIs that make them flexible, easily scalable, and cross-platform portability to any API system
Adding to that, REST API is independent of the technology used, it seamlessly communicates with applications built in various languages without the need to adjust design or code.
How to Create a REST API with Flask
Why Flask? well, Flask is a Python micro-framework for building web apps and API. It is perfect for not just this demo, but building API in general.
Ok, not really just Flask, but we will be using it alongside an extension called flask_restful, which makes it super easy to write RESTful APIs with Flask, allowing you to harness the power of Flask with a little to no effort and define API endpoints and resources in a structured manner.
Requirements.
Flask
Flask_Restful
Hmm, That’s it!
Install Requirements
In one of my Python best practices articles, I mentioned using a virtual environment.
We will start with that.
Create Virtual Environment
In your project directory/folder
Run in cmd/PowerShell/bash/zsh …
python -m venv venvTo activate this newly created environment
On Windows
source venv/bin/activateOn Linux, Mac
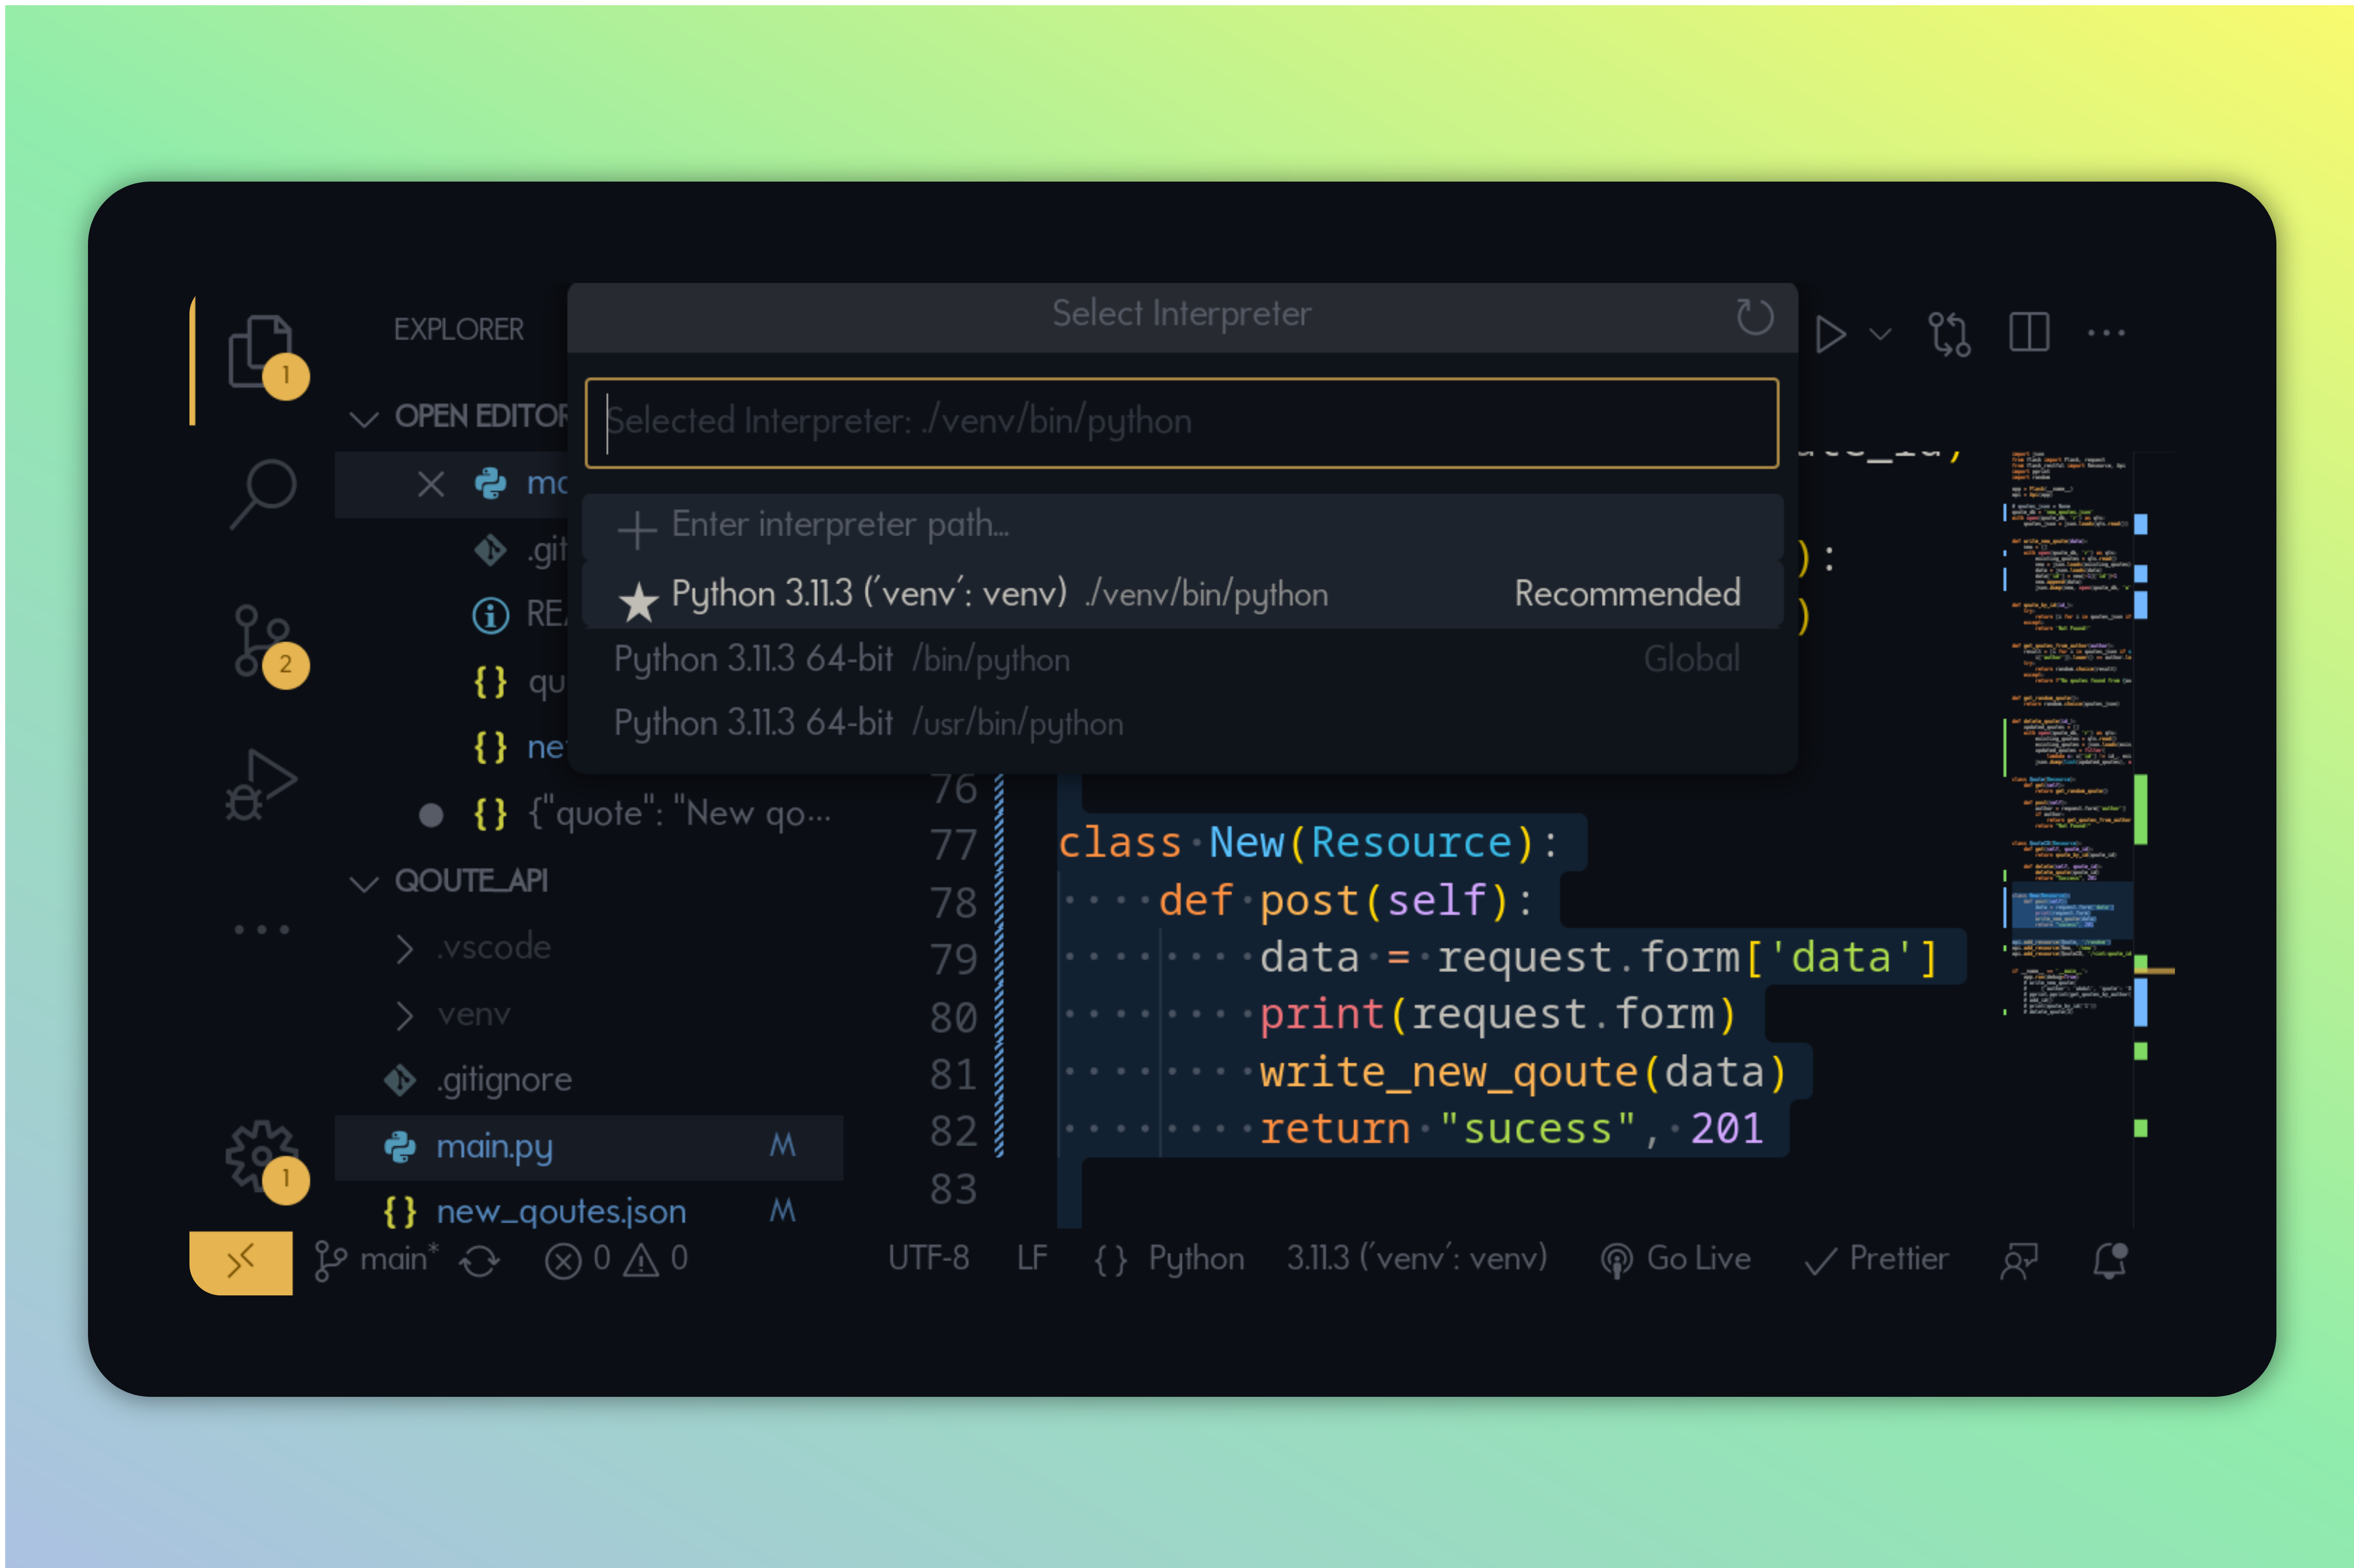
source venv/bin/activateNote: if you’re using Vscode, consider using the newly created virtual enviroment as the interpreter for your project.

Installations
Install flask, flask_restful
pip install flask flask_restfulOn Linux
pip3 install flask flask_restfulExample API
from flask import Flask, request
from flask_restful import Resource, Api

app = Flask(__name__)
api = Api(app)

class Hello(Resource):
    def get(self):
        return {'message': 'Hello World!'}

app.add_resource(Hello, '/')

if __name__ == '__main__':
    app.run(debug=True)
HAHAHA, yeah that’s it!
If you know Flask, this shouldn’t be a problem. I mean, that much of a problem.
But basically:
The first two lines of code import the necessary resource we need from Flask and flask_restful.
app = Flask(__name__)creates an instance of Flask web application.__name__represent the current file/module.api = Api(app)creates an instance of Flask_rrestful which will be used to define API endpoints.The
Class Hello(Resource)This code defines a class called Hello and inherits from the Resource class imported from flask*restful. The Resource class represent a resource in the API and will handle HTTP request made to the corresponding endpoint.Within the Hello class, the get method defined will be executed when a GET request is made to the endpoint. In this case, It simply returns a JSON with the message “Hello World!”
app.add_resource(Hello, '/')This line binds the Hello resource to the root or ’/’ endpoint of the API.The code block
if __name__ == '__main__'ensure the following is only executed the script is executed and not imported.app.run(debug=True)starts the Flask development server.debug=Truemake sure to reload the script whenever changes are made to any of the project files.
When you run this script, a development server should start on your local machine.
The URL should look something like this http://localhost:5000
Test
If you open the corresponding URL in your browser, the result won’t look anything like your normal expectations.
[IMAGE!]
Or, you can test out your API with curl.
$ curl http://localhost:5000/

{'message': 'Hello World!'}
Quote API project
At the end of this project, you will learn:
How to create Endpoints that accept GET, POST, DELETE
Creating dynamic url endpoints
Reading Request body.
Project features
Get a random quote at - https://project.url/random
Get a random quote from a specific author - https://project.url?author=” steve jobs”
Get a quote with a specific ID - https://project.url/id
Post new quote - https://project.url/new
Delete quote with a specific ID - DELETE https://project.url/id
The data we will be needing for the project will be getting them from a JSON file, with a list of some random quotes I got online.
Example data
[
  {
    "quote": "The only way to do great work is to love what you do.",
    "author": "Steve Jobs",
    "id": 0
  },
  {
    "quote": "Innovation distinguishes between a leader and a follower.",
    "author": "Steve Jobs",
    "id": 1
  },
  {
    "quote": "Your time is limited, don't waste it living someone else's life.",
    "author": "Steve Jobs",
    "id": 2
  },
  .....................
]
You can get the json file with the full list of qoutes from my github.
1. Defining GET, POST Requests
In this section, you will have in your brain, how to define a GET request, and how to retrieve data passed onto the request body.
 .......
import json, random

qoutes_db = 'quote.json'

with open(, 'r') as qts:
    qoutes_json = json.loads(qts.read())

def get_qoutes_from_author(author):
    result = [i for i in qoutes_json if str(
        i['author']).lower() == author.lower()]
    try:
        return random.choice(result)
    except:
        return f"No qoutes found from {author}"

def get_random_qoute():
    return random.choice(qoutes_json)

class Qoute(Resource):
    def get(self):
        return get_random_qoute()

    def post(self):
        author = request.form['author']
        if author:
            return get_qoutes_from_author(author)
        return "Not Found!"

 api.add_resource(RandomQoute, '/random')

 .......
I don’t know if have any questions in mind regarding this code, or you’re just fine. But I would still explain either way. Of course, if you have been writing Python code, it shouldn’t be much of a problem.
Before we move on, you should know that we’re adding to the previous demo code.
Imported random and JSON (to get random stuff and handle JSON respectively)
we loaded, using a context manager the
qoute.jsonfile which contains all of our quotes.The function
get_qoute_from_author(author)gets all quotes from an author and uses random to select randomly from the result.get_random_qoute()uses random and returns randomly selected quotes.RandomQouteclass is, of course, the resource we will be deploying to an endpoint.
Inside it, we define a get function which as we said, would be executed on a GET request to this resource. It same for other methods, such as POST, PUT, and DELETE, just define a function with the name of the method.
- The
postfunction will also be executed on POST request.
author = reqeuest.form['author'] this selects the body parameter to pass to the request body.
The rest I think is straightforward.
api.add_resource(RandomQoute, '/random')this line basically binds this resource to this /random path. e.g https://project.url/random
That it!
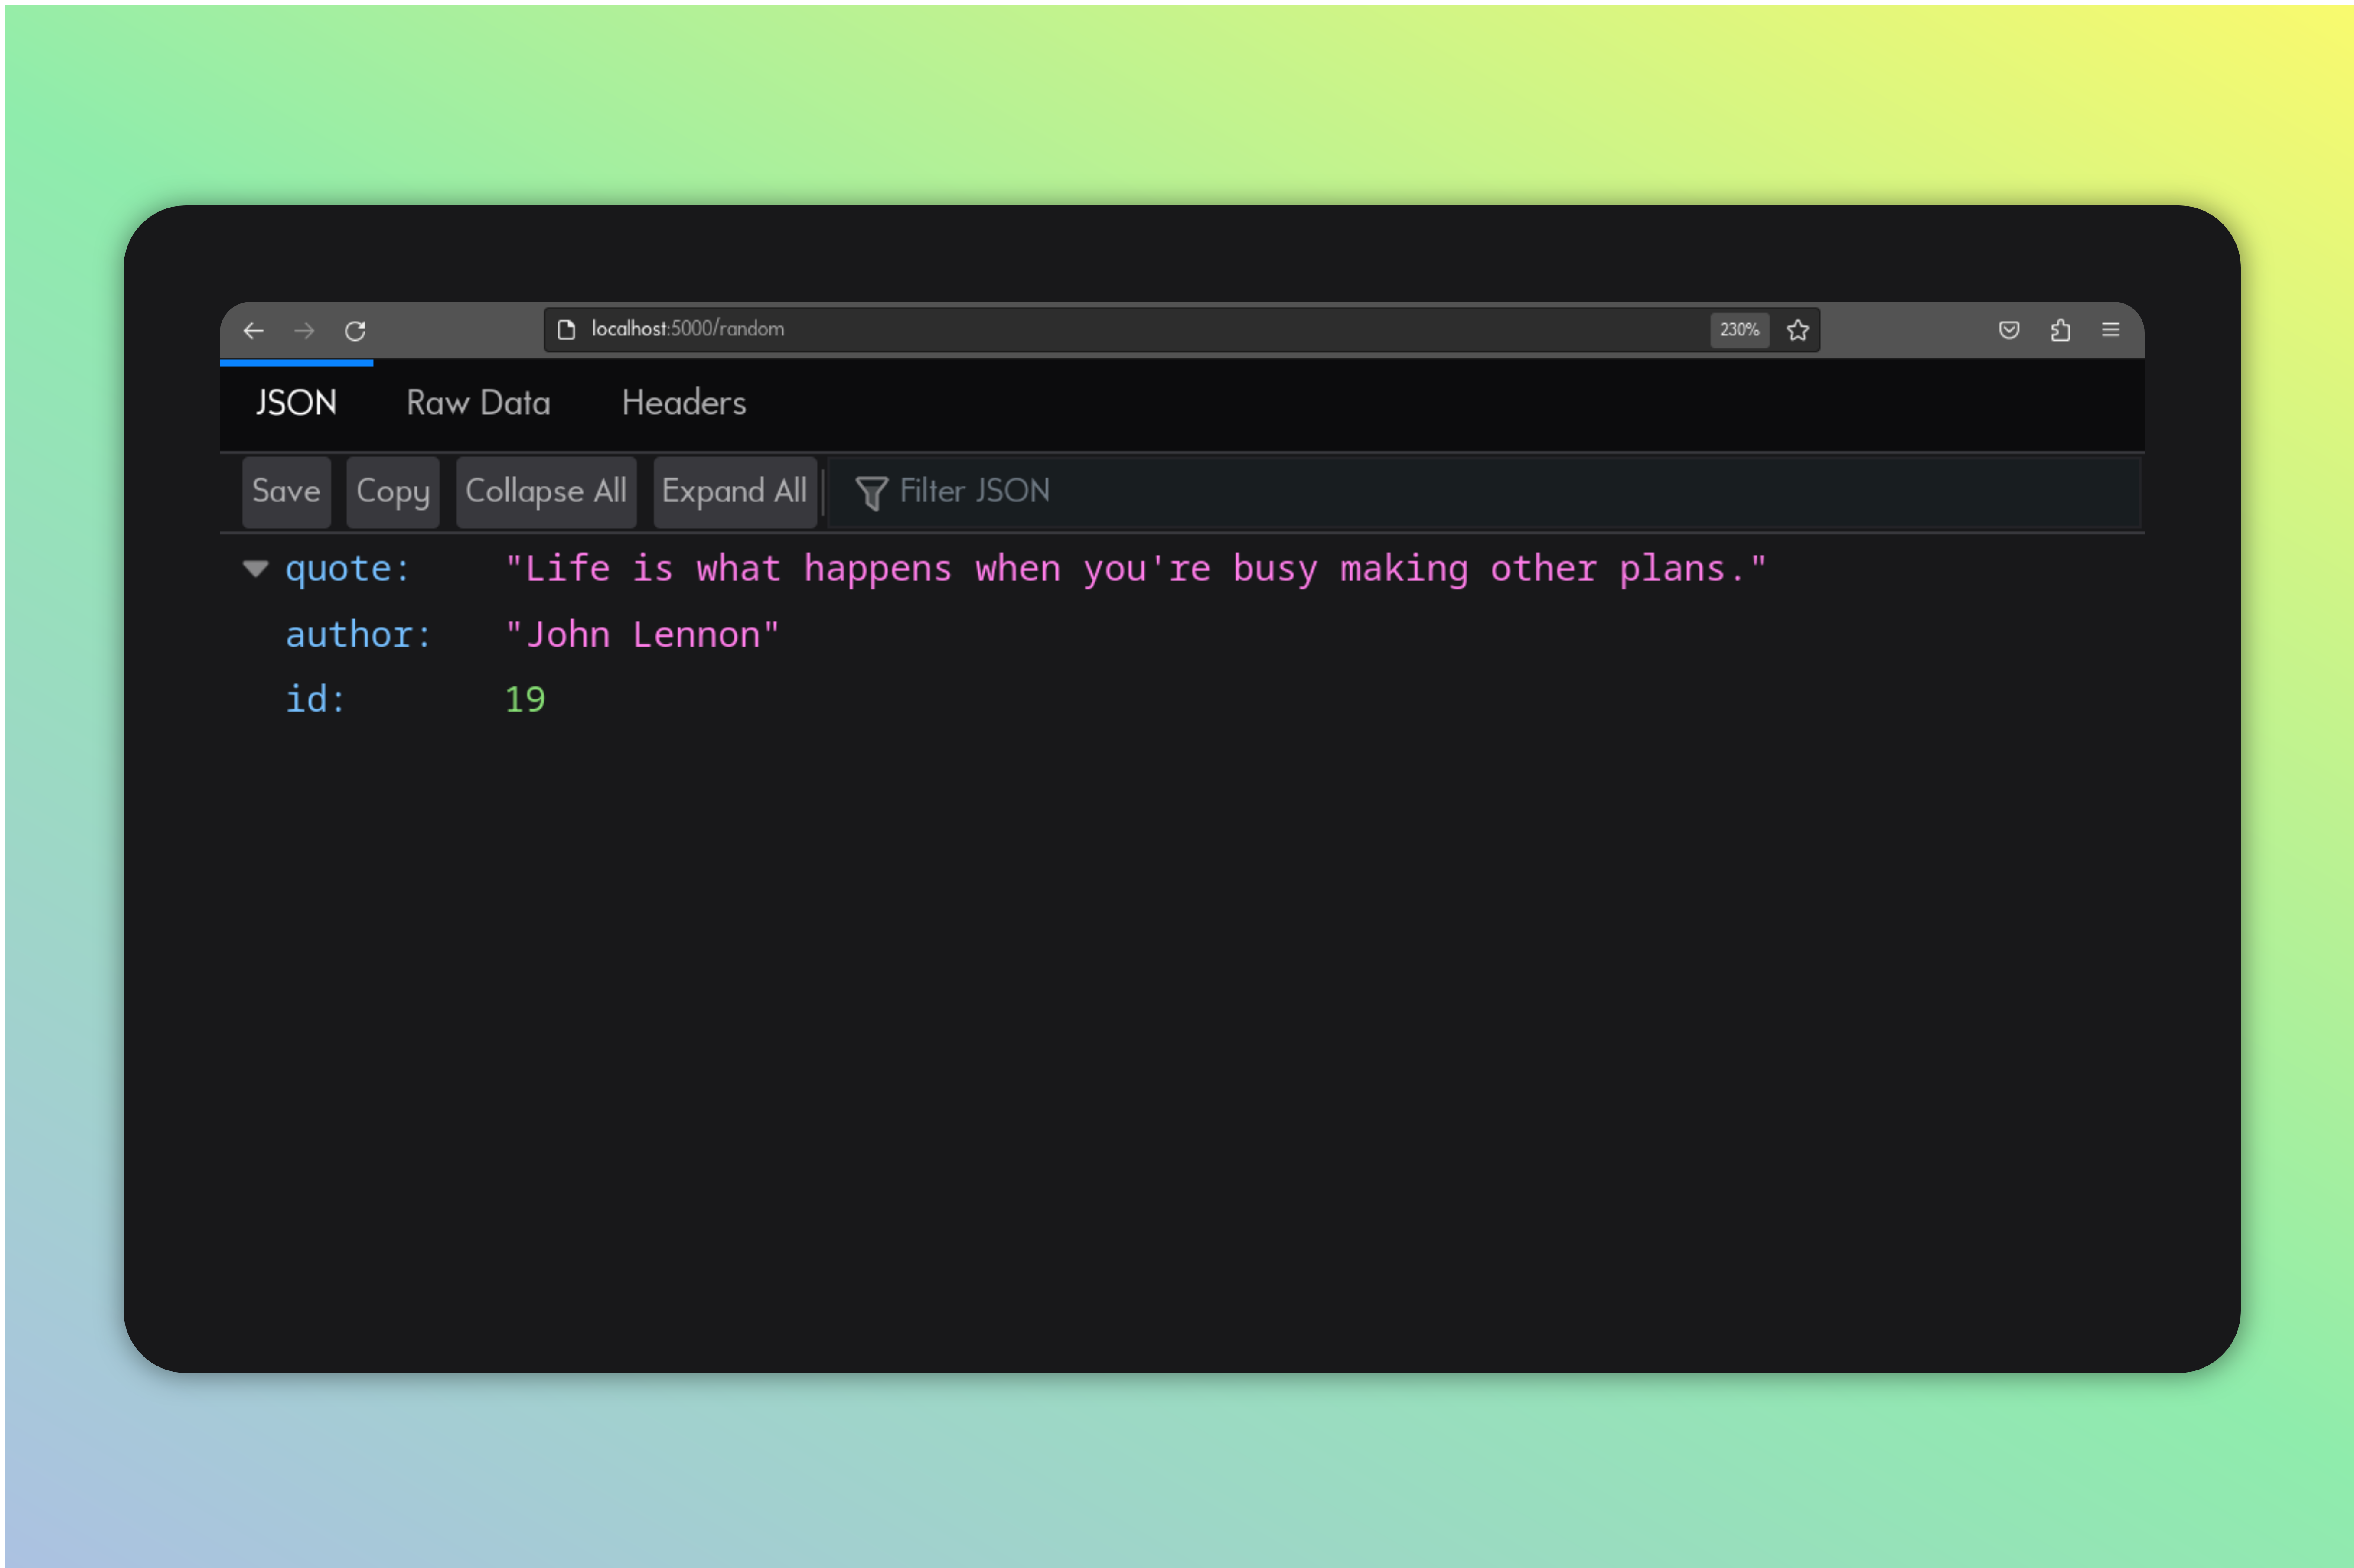
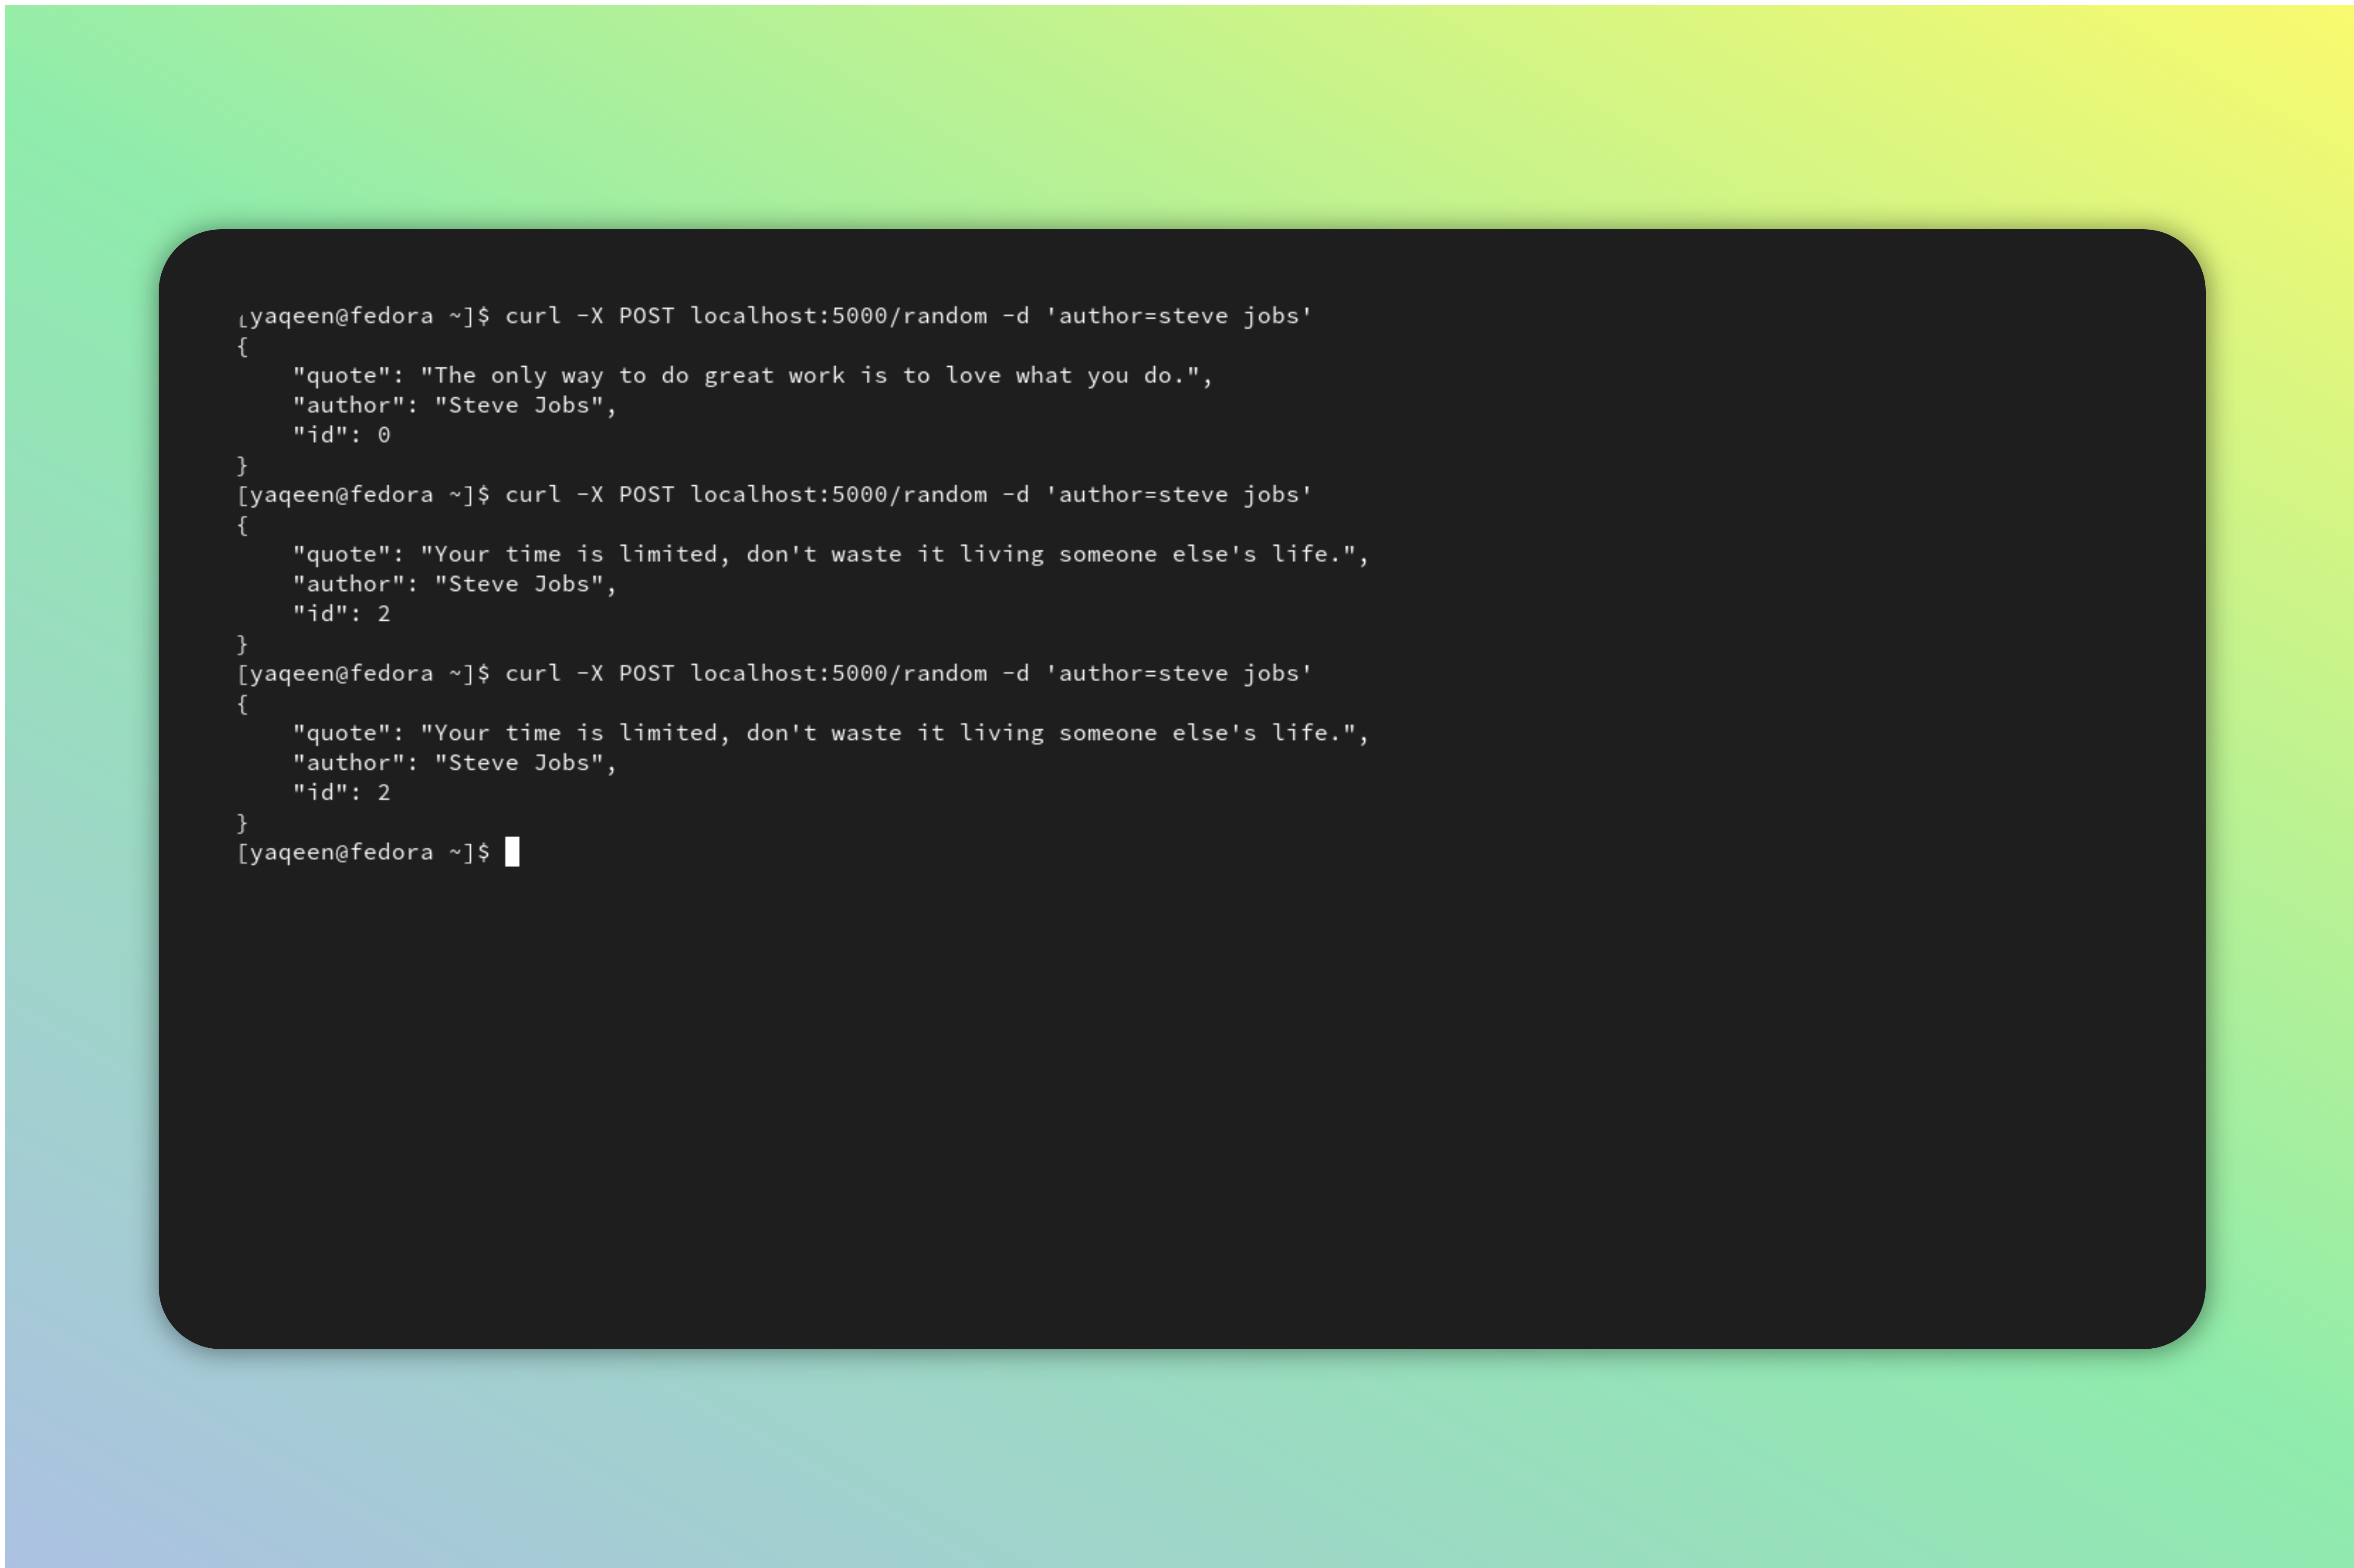
We can then test this in browser or using any other services you’re familiar with.

Testing post request!

2. Dynamic URL
In this section, we will look into how we can configure dynamic URLs. Such that, the specific URL path doesn’t need to be registered and can retrieve data based on the path.
Okay don’t get confused, here is an example.
Example
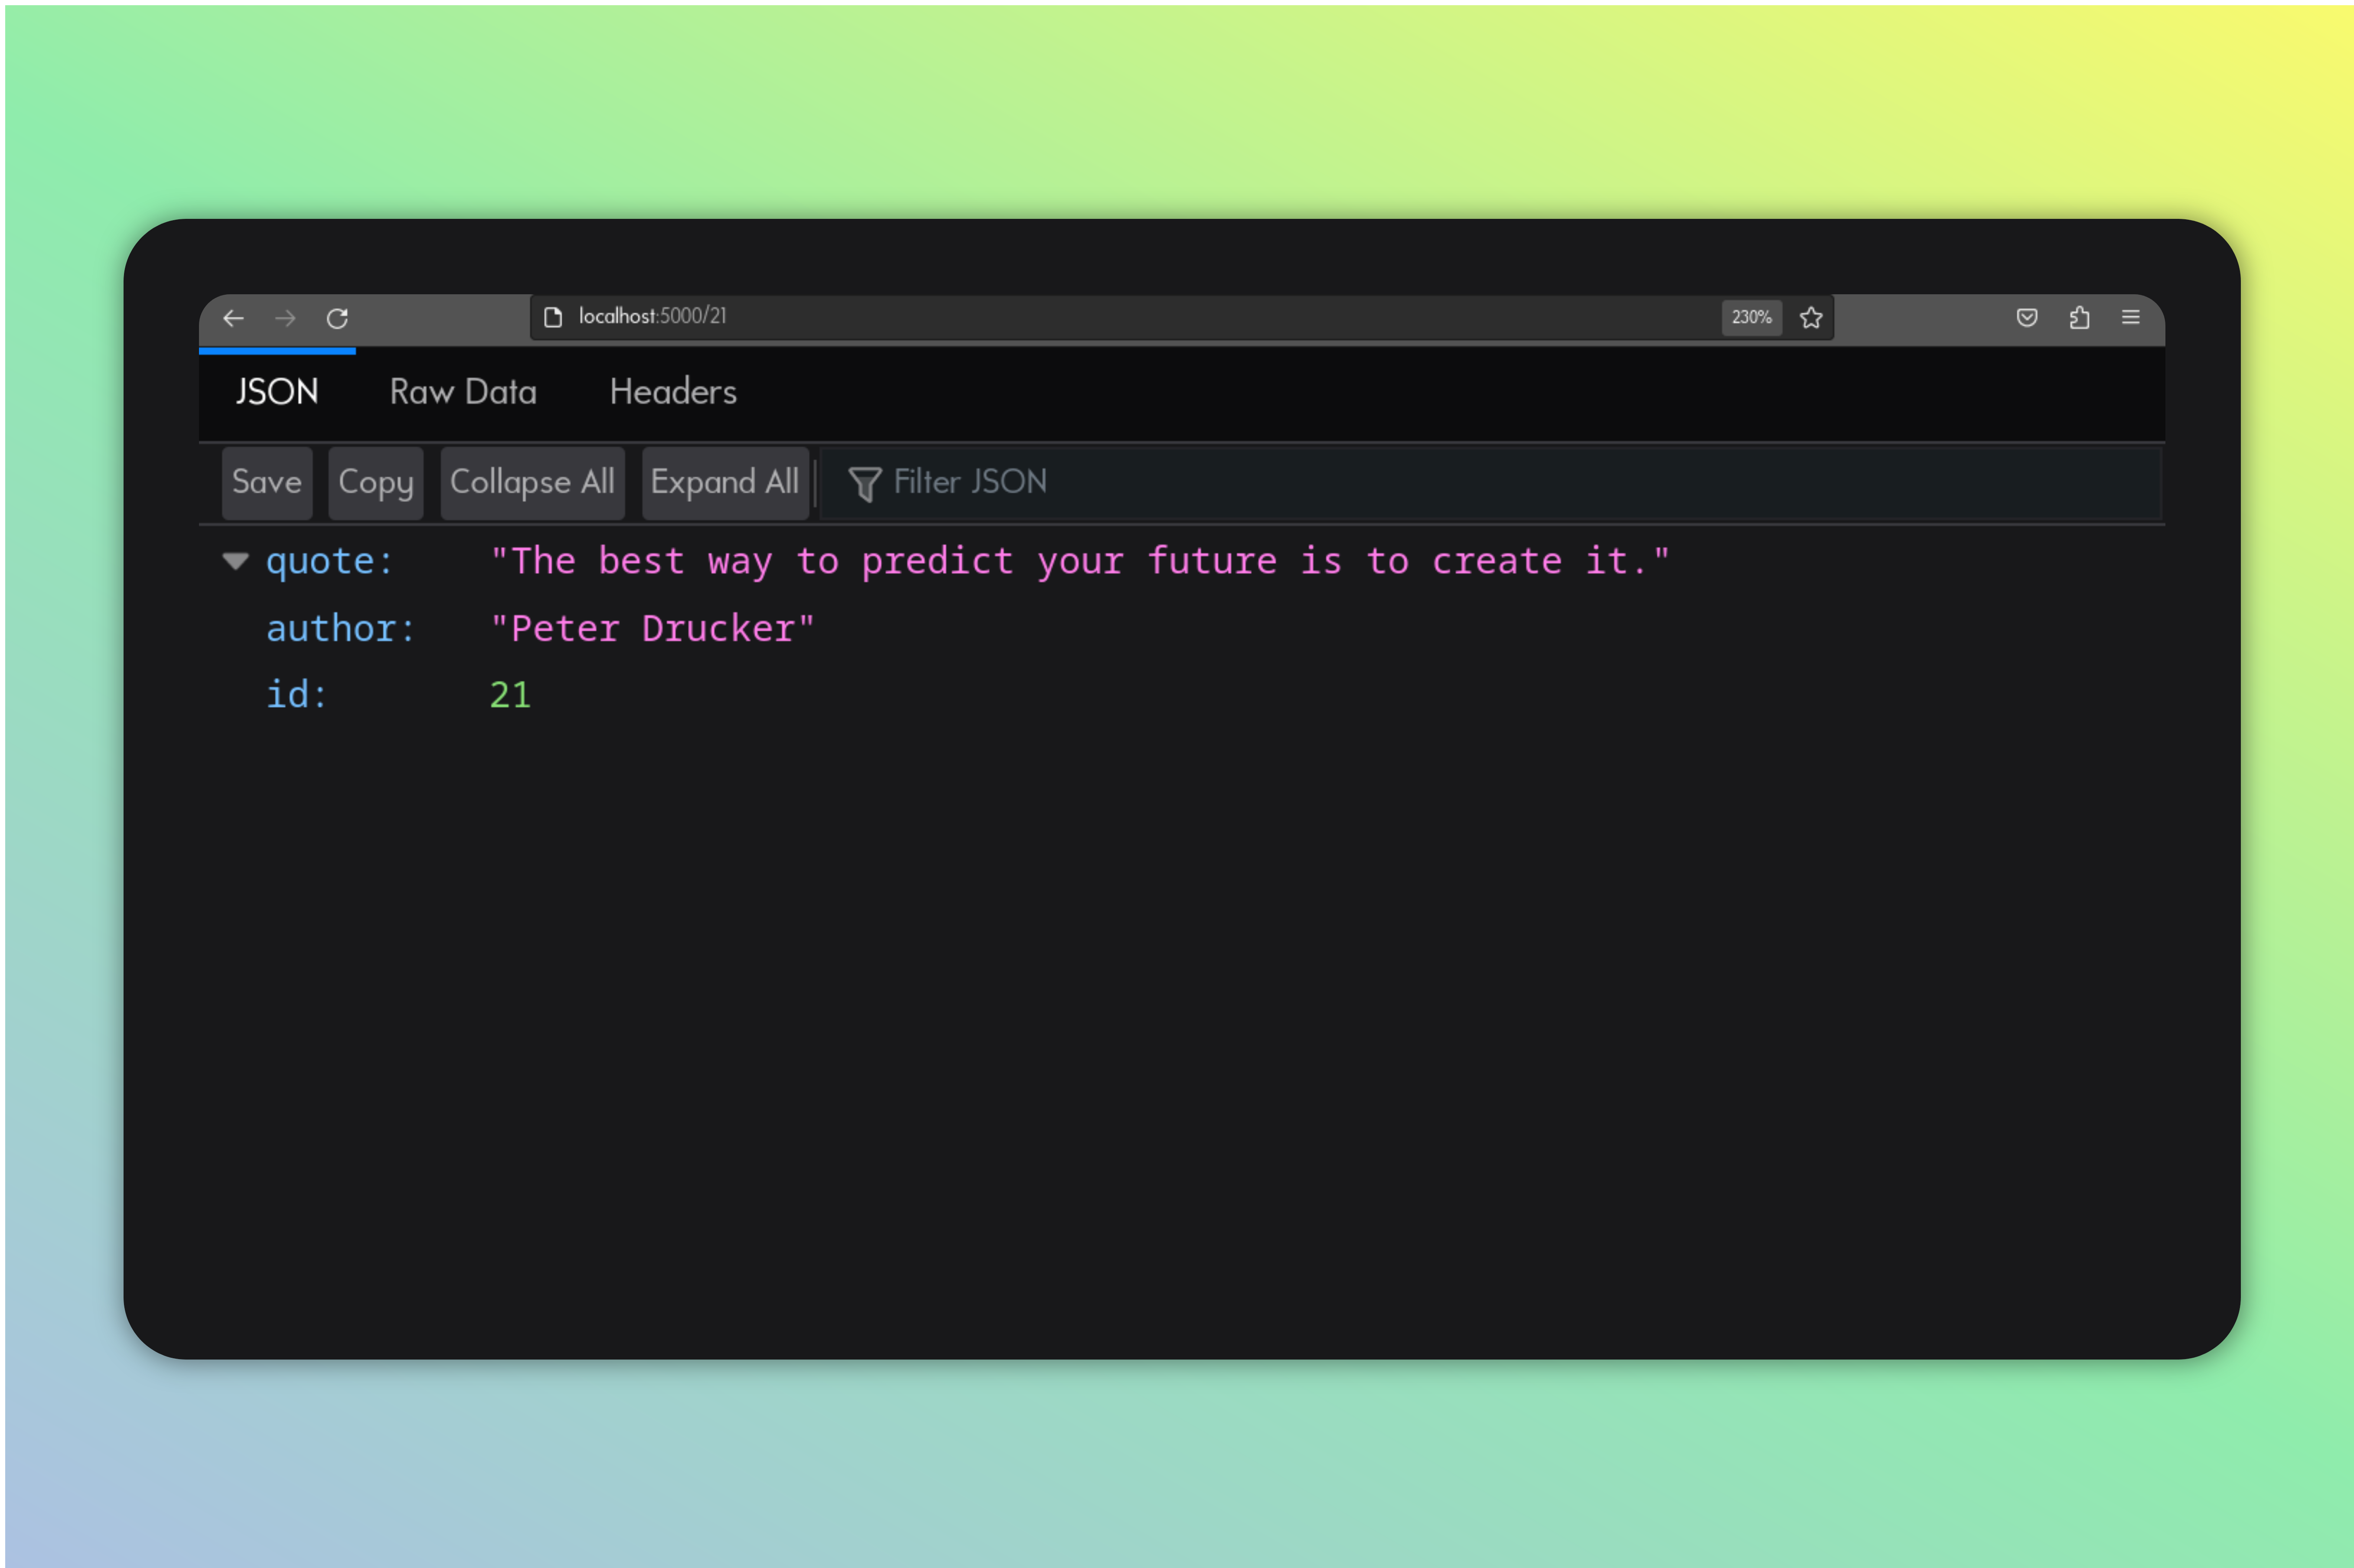
https://project.url/1 - This returns the quote with the id of one. Of course, based on this project.
.......

def qoute_by_id(id_):
    try:
        return [i for i in qoutes_json if i['id'] == id_][0]
    except:
        return 'Not Found!'

class QouteID(Resource):
    def get(self, qoute_id):
        return qoute_by_id(qoute_id)

    def delete(self, qoute_id):
        return "DELETE"
.....
api.add_resource(QouteID, '/<int:qoute_id>')

........
Again, the abomination I have always written may or may not be a mystery to you, But here we go again
qoute_by_idfunction reads from the list of quotes JSON, checks the ID if it matches, and returns the first one.
try/except takes care of all errors 😅!!!
The new
QouteIDclass currently has two methods,GET,DELETEmethods.So, the request method functions this time around and has another parameter, This is passed as an argument below when we add the resource to the API.
api.add_resource(QouteID, '/string:qoute_id')adds this resource to a dynamic URL, such that any integer can be entered after the ’/’ and that will be the value passed to the subsequent function. In this case, integers.
You can see your code in action by testing it in a browser, or any API tool you are comfortable with.

3. DELETE Request
So far, we have only looked into GET and POST requests. In the previous resource we created, we have not updated the delete request body. Before we do that though, let’s write the function that deletes the quote from our JSON.
......

def delete_qoute(id_):
    updated_qoutes = []
    with open(qoute_db, 'r') as qts:
        existing_qoutes = qts.read()
        existing_qoutes = json.loads(existing_qoutes)
        updated_qoutes = filter(
            lambda x: x['id'] != id_, existing_qoutes)
        json.dump(list(updated_qoutes), open(qoute_db, 'w'), indent=2)

.....
Finally, we can now update our delete request function in the QouteID class.
.....

    def delete(self, qoute_id):
        delete_qoute(qoute_id)
        return f"Successfully deleted qoute with ID {qoute_id}", 201
$ curl -X DELETE localhost:5000/2
'Successfully deleted qoute with ID 2'Write new Quote
This is an easy enough step, we just have to create a resource and bind it to an endpoint like ‘/new’ or something, and catch post requests in this endpoint.
First, let’s tackle the function that writes new quotes to our JSON.
....

def write_new_qoute(data):
    new = []
    with open(qoute_db, 'r') as qts:
        existing_qoutes = qts.read()
        new = json.loads(existing_qoutes) if existing_qoutes else []
        data = json.loads(data)
        data['id'] = new[-1]['id']+1
        new.append(data)
        json.dump(new, open(qoute_db, 'w'), indent=2)
Then, for the API resource and endpoint,
...

class New(Resource):
    def post(self):
        data = request.form['data']
        print(request.form)
        write_new_qoute(data)
        return "Success", 201


api.add_resource(New, '/new')
That’s it guys, we have success tick all of our list of features and have learned a bit about restful API.
Oh yeah, let’s test out the “/new” endpoint
 $ curl -X POST localhost:5000/new -d 'data={"quote": "New qoute","author": "Abdulmumin"}'
 "Success"
Happy coding
Be the first to comment!